Want to be more creative? This pattern will teach you a trick or two.
A tale of rectangles
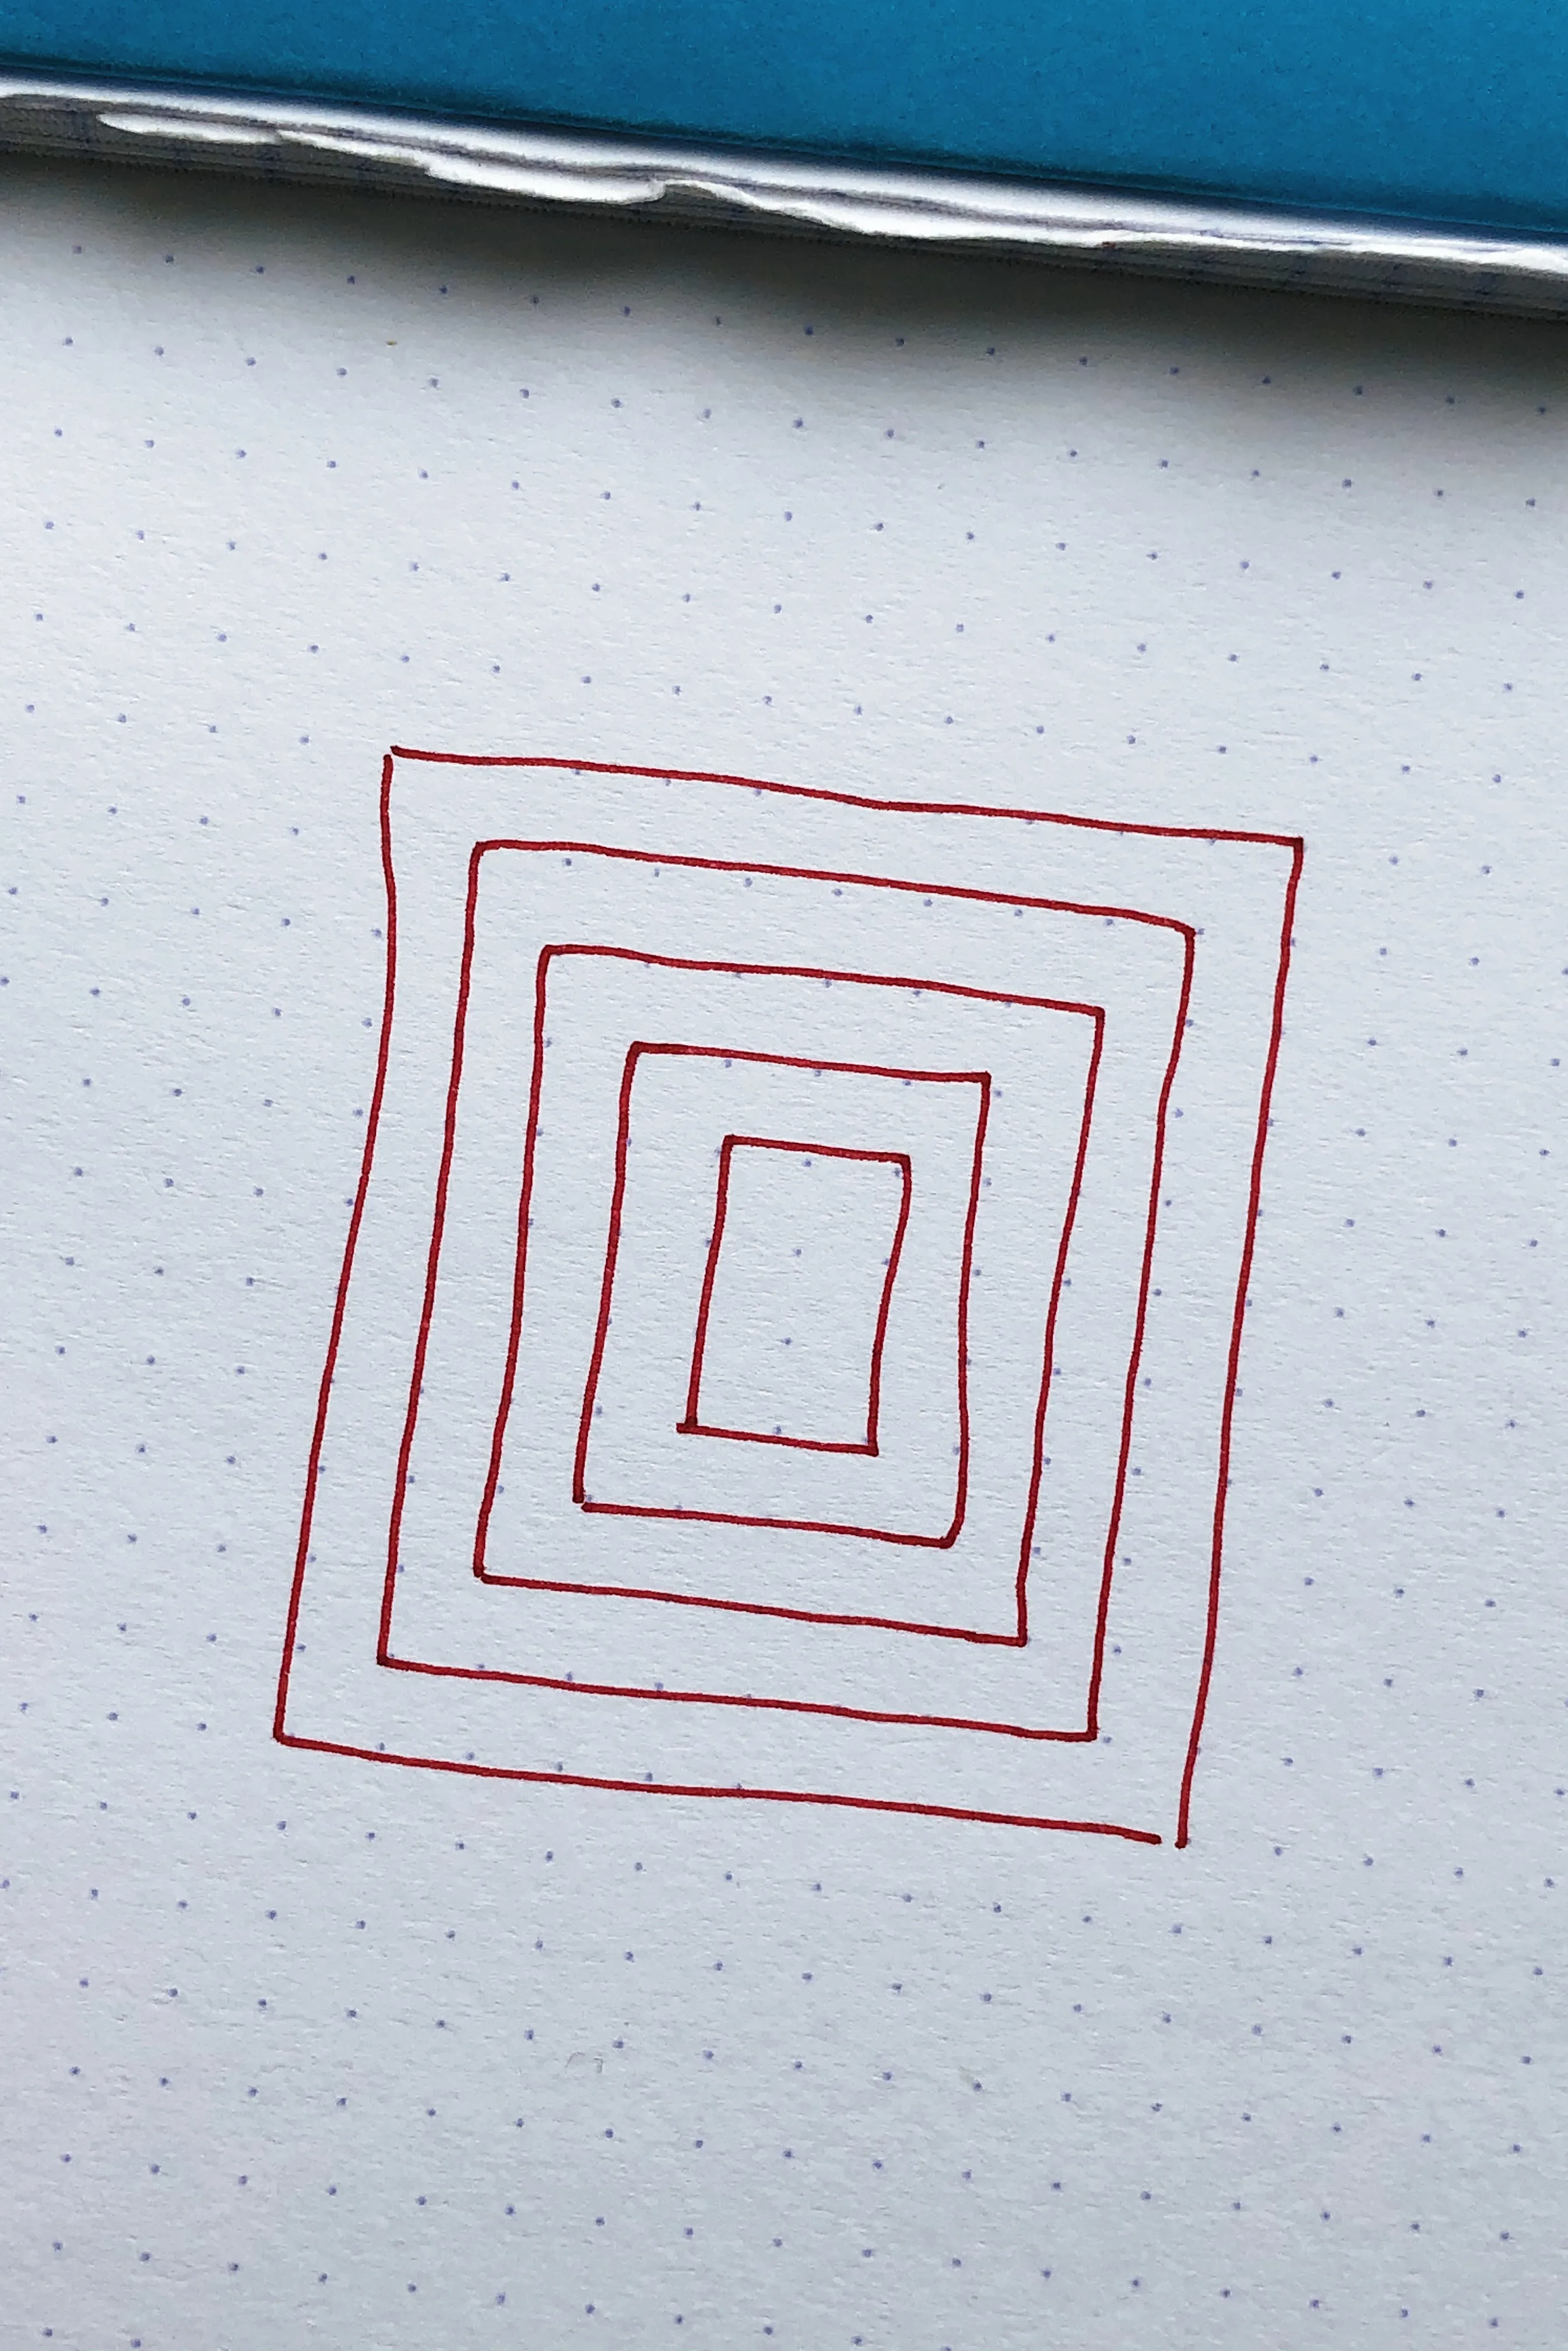
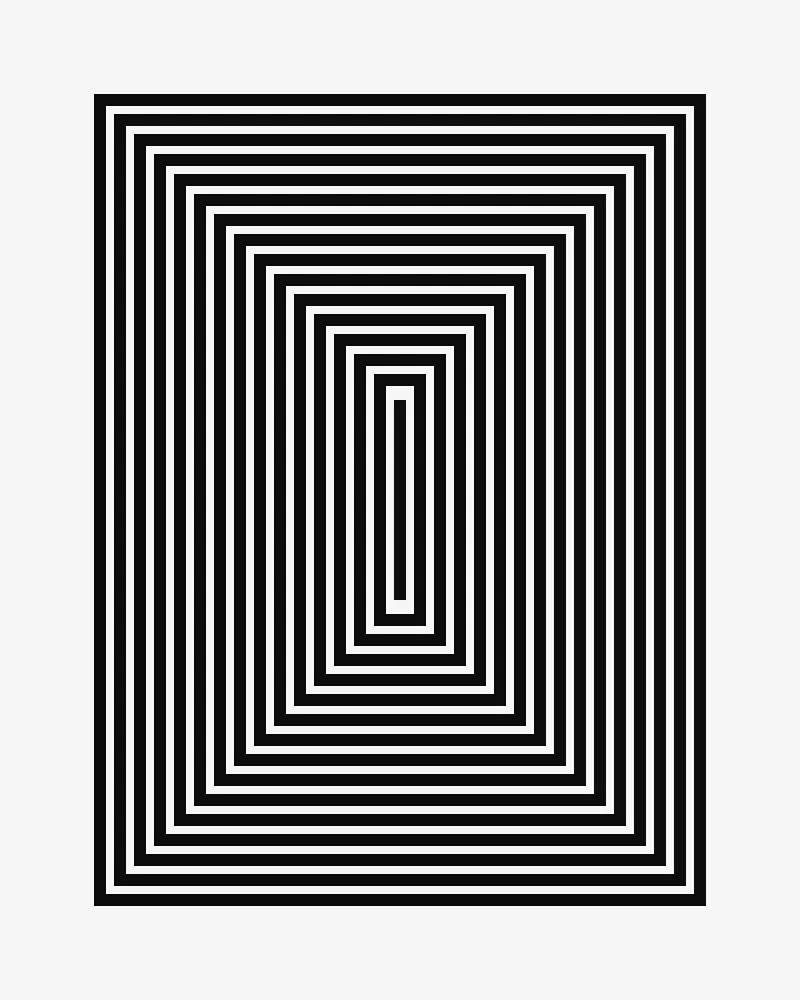
One afternoon I was doing some research for an illustration I had in mind. Something inspired by Russian Dolls. I got started by drawing a bunch of small rectangles inside bigger rectangles.
What I learned that day will stick with me.
This is a story about rectangles and creativity. It starts with a piece of paper.
This seems easy to translate into code.
We start with a small rectangle and iteratively make it bigger until the last rectangle reaches the edge of the canvas (the stopping condition).
A For loop will do.
What are the inputs of the program?
- The width and height of the canvas.
- The width and height of the smallest rectangle.
- The number of rectangles we wish to draw.
What does the For loop do?
- Draw the first rectangle.
- Draw the second rectangle by multiplying the initial width and height by 2.
- Draw the third rectangle by multiplying the initial width and height by 3.
- Repeat until we meet the stopping condition.
Note: the coordinate (x = 0, y = 0) is at the bottom left corner of the canvas. Try editing the code!
Let’s have fun with the code by changing the parameters.
initialWidth = 100initialHeight = 100numberOfRectangle = 50
Let’s try another one.
initialWidth = 30initialHeight = 20numberOfRectangle = 40
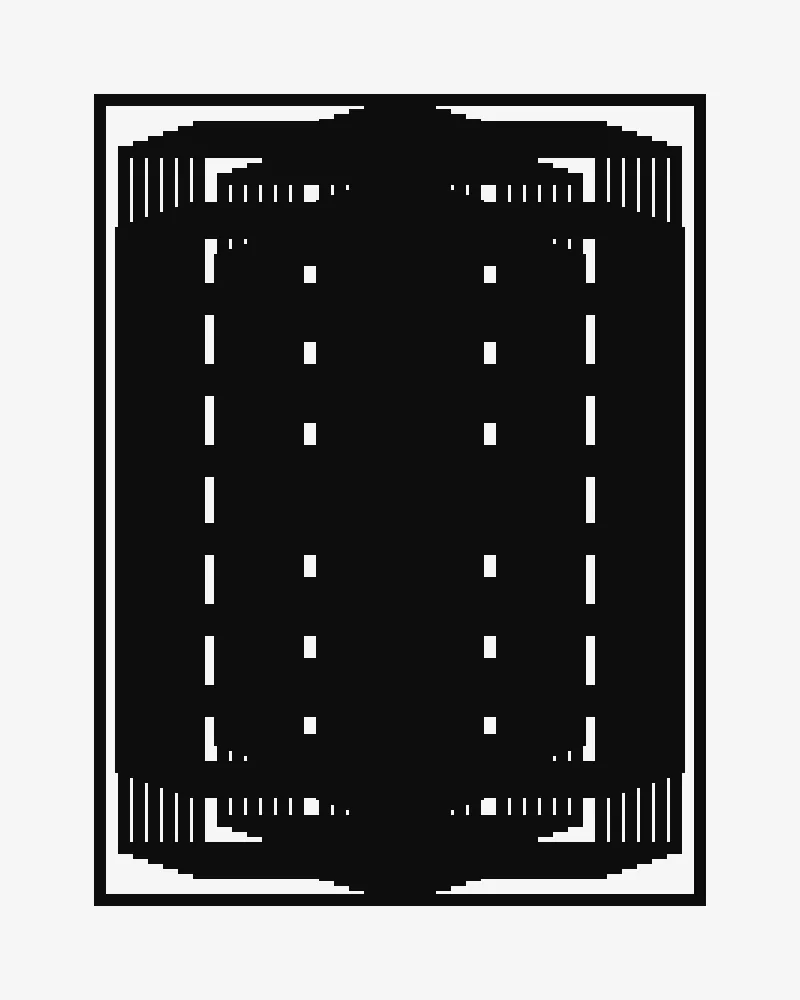
This is interesting. When the vertical or horizontal space between rectangles is too small we can’t discern borders anymore.
And a last one.
initialWidth = 100initialHeight = 20numberOfRectangle = 10
From a very boring program, we can create these interesting shapes by playing with the parameters. What else can we do?
Version two
If you look at a set of Russian dolls, you will notice that they don’t have the same shape or aspect ratio. The smaller doll is not just a scaled-down version of the bigger one; it is unique. The first version of the code doesn’t produce the same effect. What can I change to make the rectangles look more like a set of Russian Dolls?
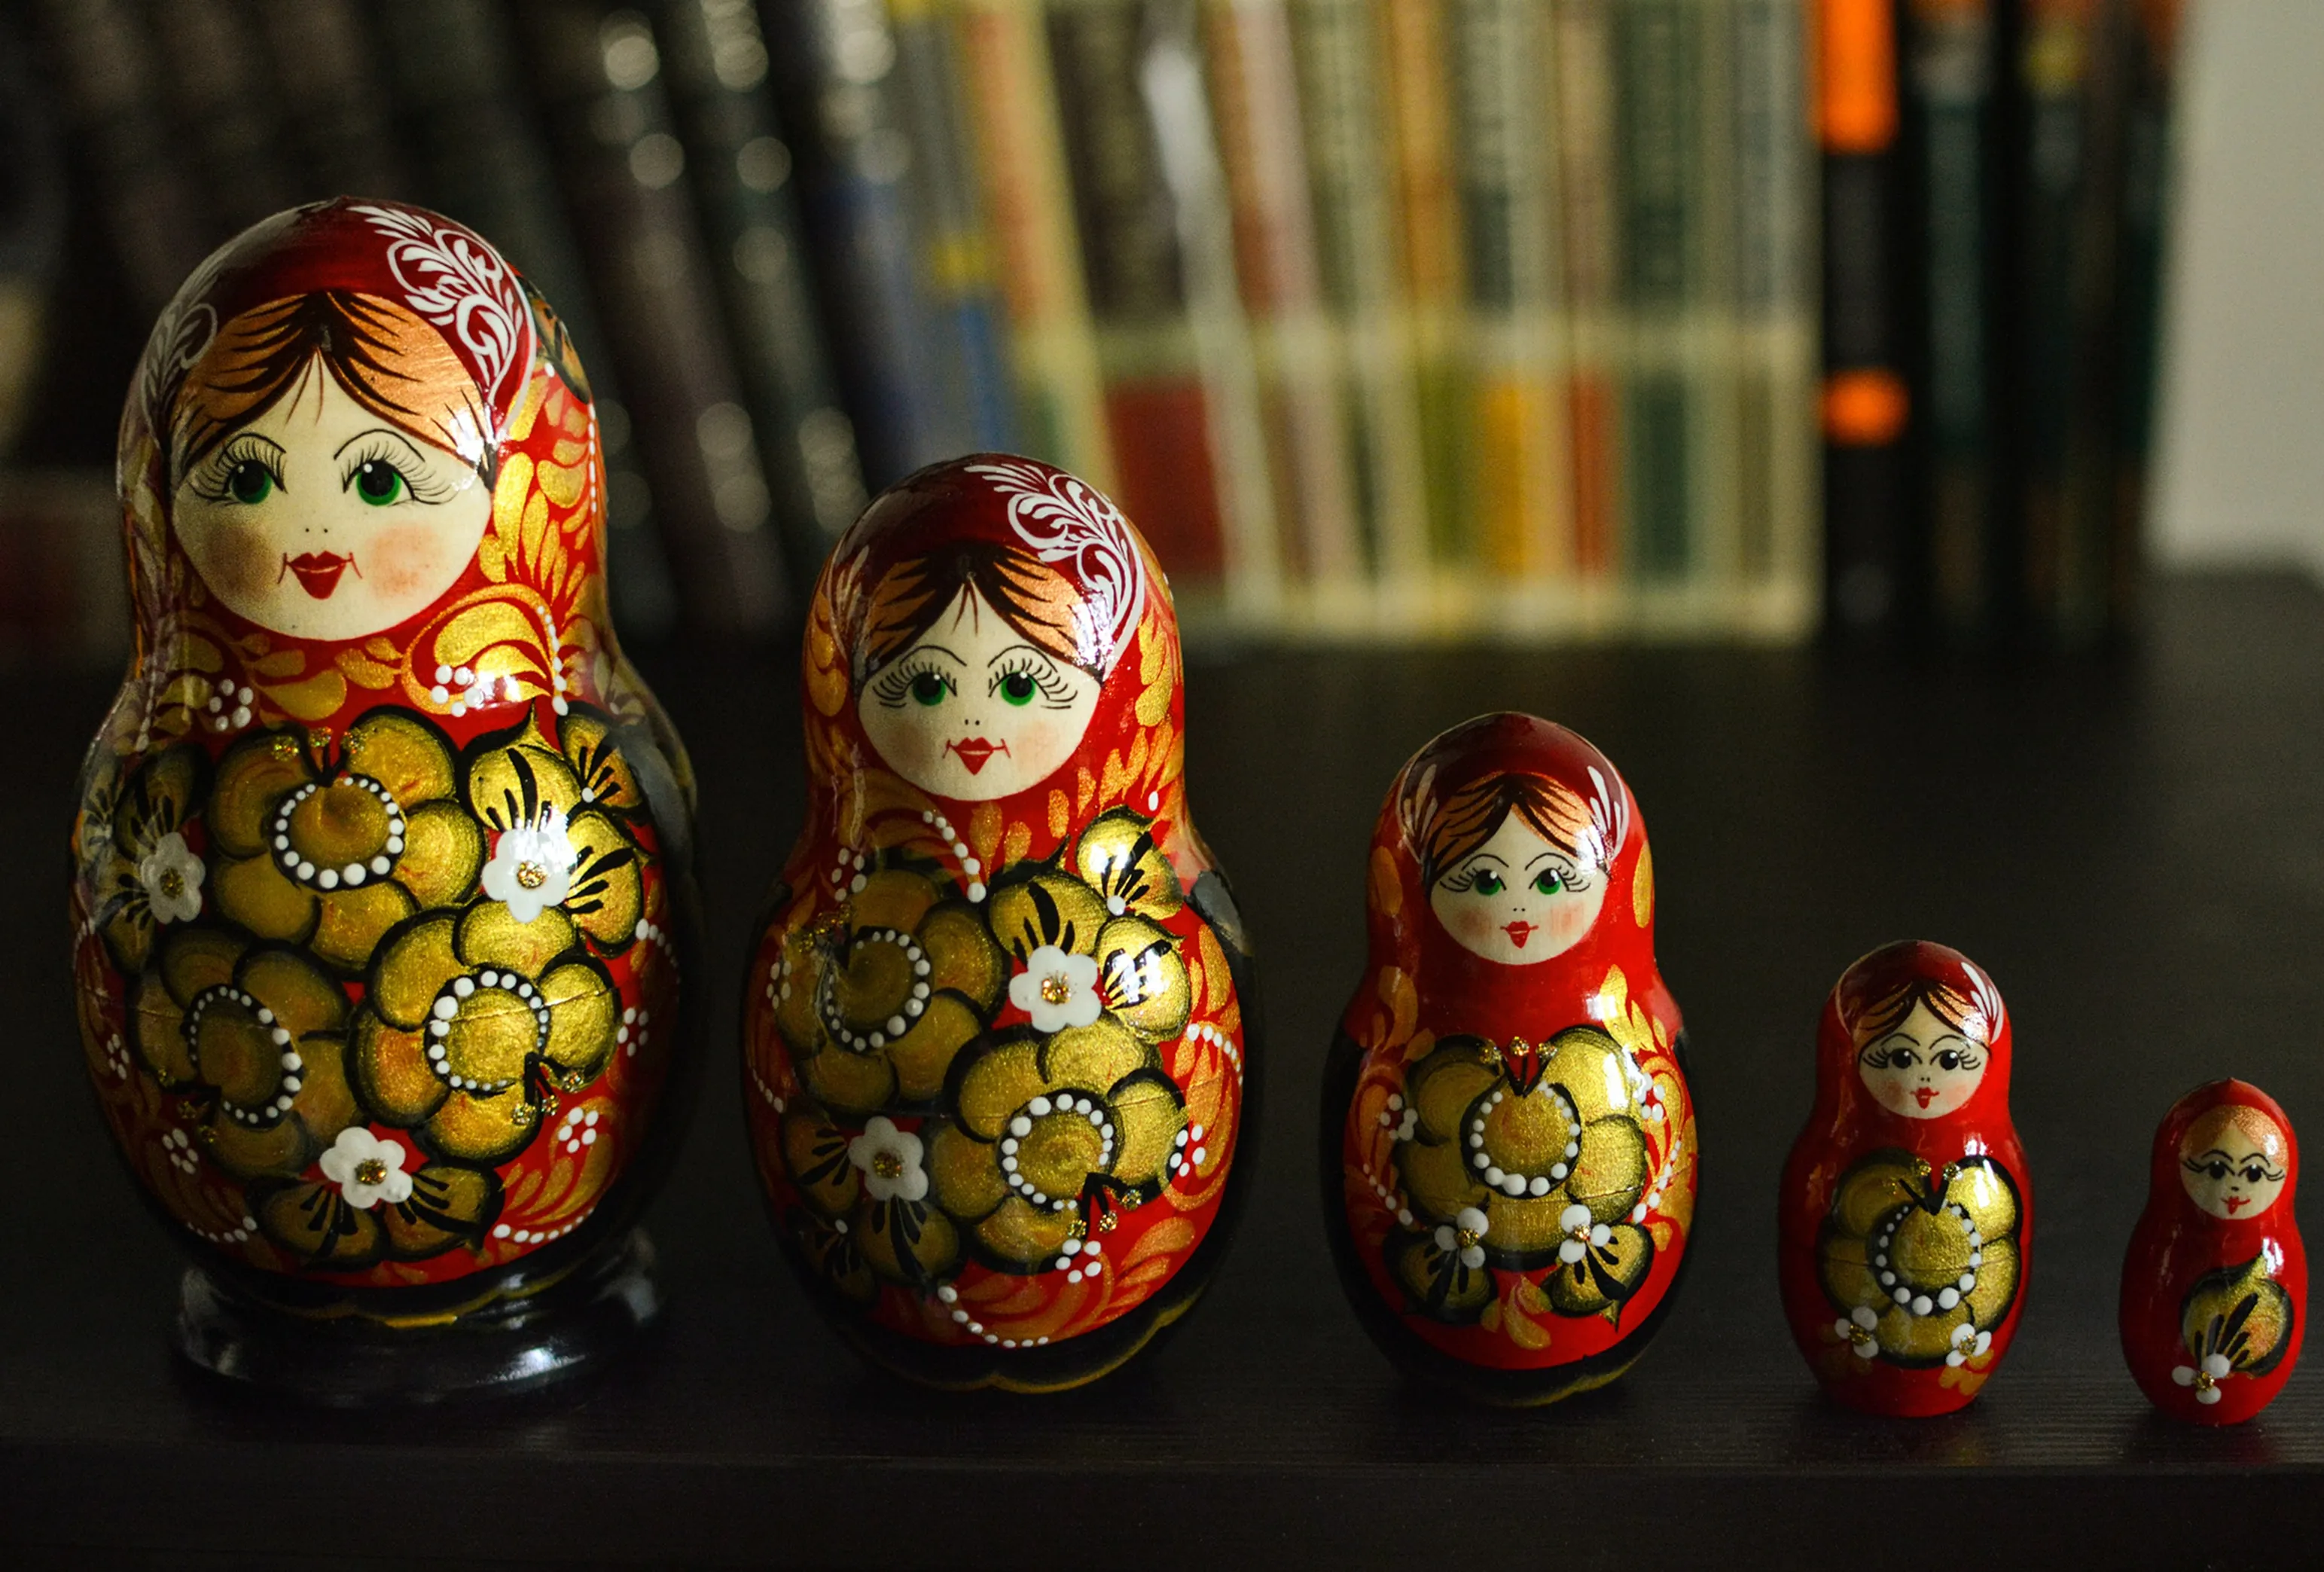
Photo by Julia Kadel on Unsplash
In the first version, we were iteratively calculating the width and height of a given rectangle. The inital height and width were multiplied. For example: the third rectangle is three times bigger than the first one.
With the first version of the code, we started with the smallest rectangle and went outwards. What if we invert the process? First, draw the biggest rectangle and then go inwards. Instead of using multiplication, we calculate the width and height of a given rectangle according to the remaining space. So no two rectangles touch each other, we separate them by horizontal and vertical space.
Time to make new rules. What are our inputs?
- The width and height of the canvas.
- The horizontal and vertical space between rectangles.
- The number of rectangles to be drawn.
What does the For loop do?
- Draw the first rectangle at the top-left corner (x = 0, y = 0).
- Draw a second rectangle by increasing the x and y position by the desired horizontal and vertical space.
- Continue until x or y becomes too small. This is our stopping condition.
Let’s try it.
We achieved our goal. The width and height of the rectangle evolve according to the available space. As a result the aspect ratio of a smaller rectangle is different from the one of a bigger rectangle.
Another challenge
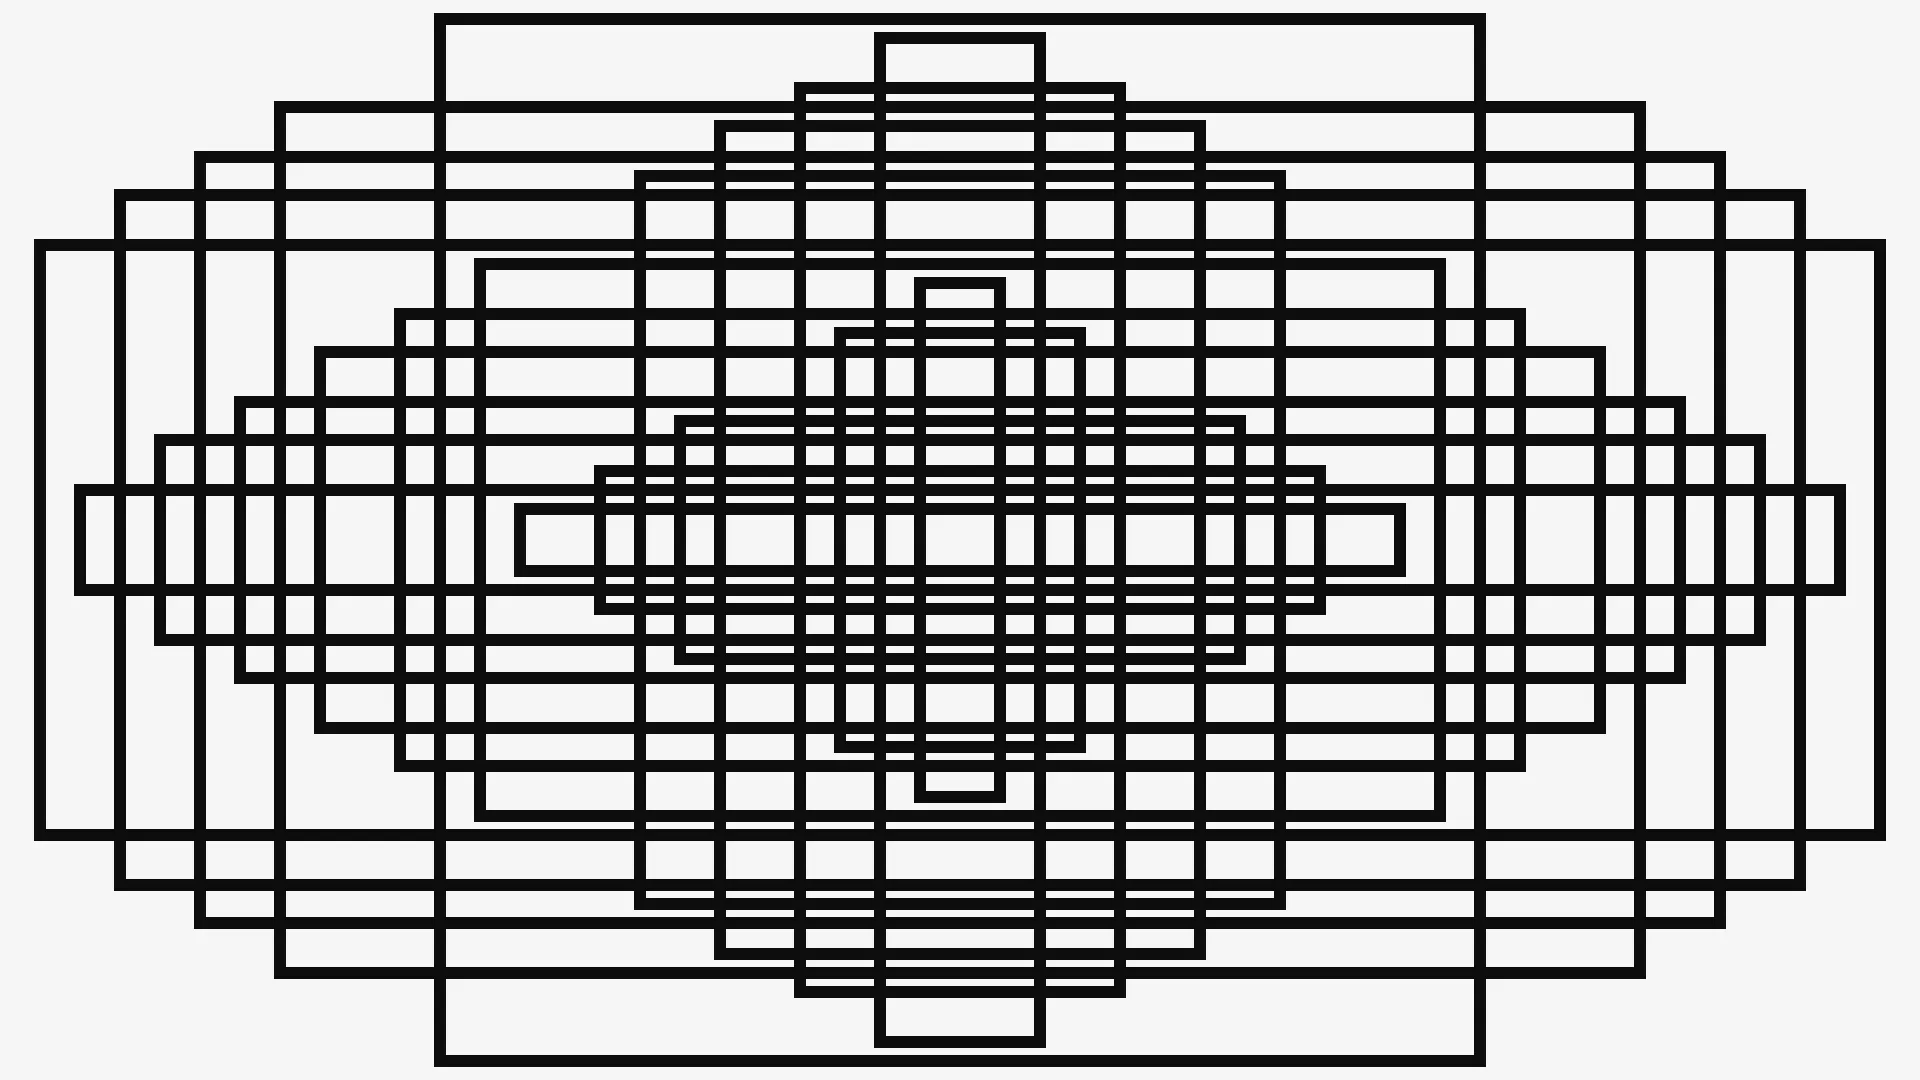
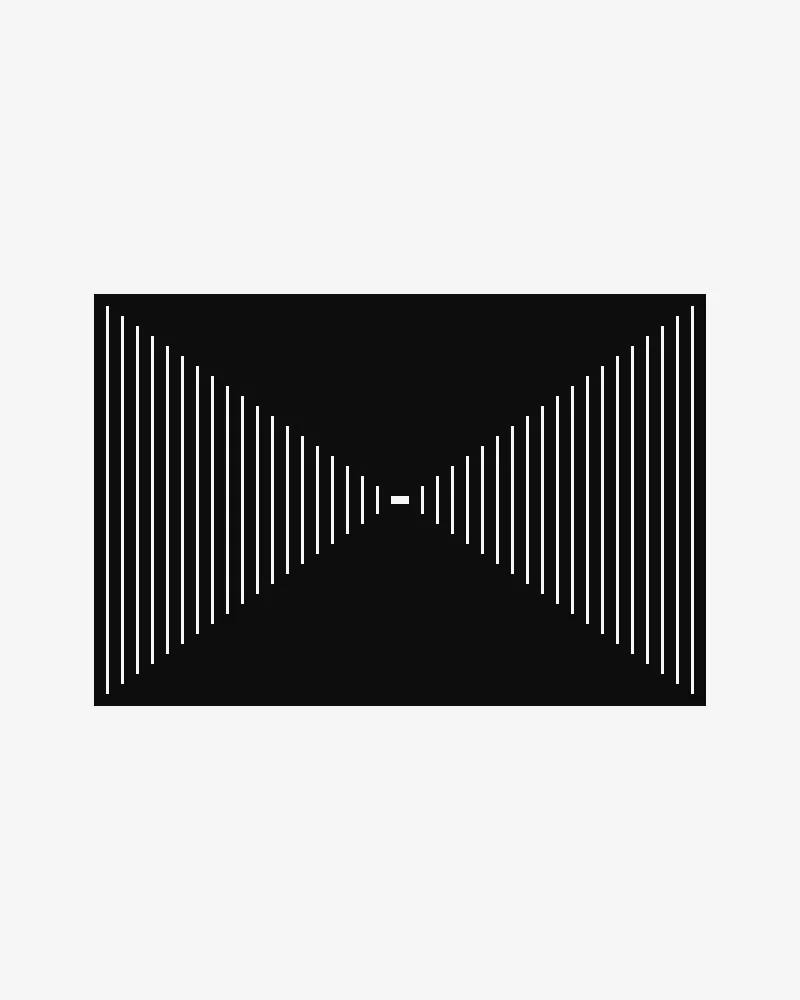
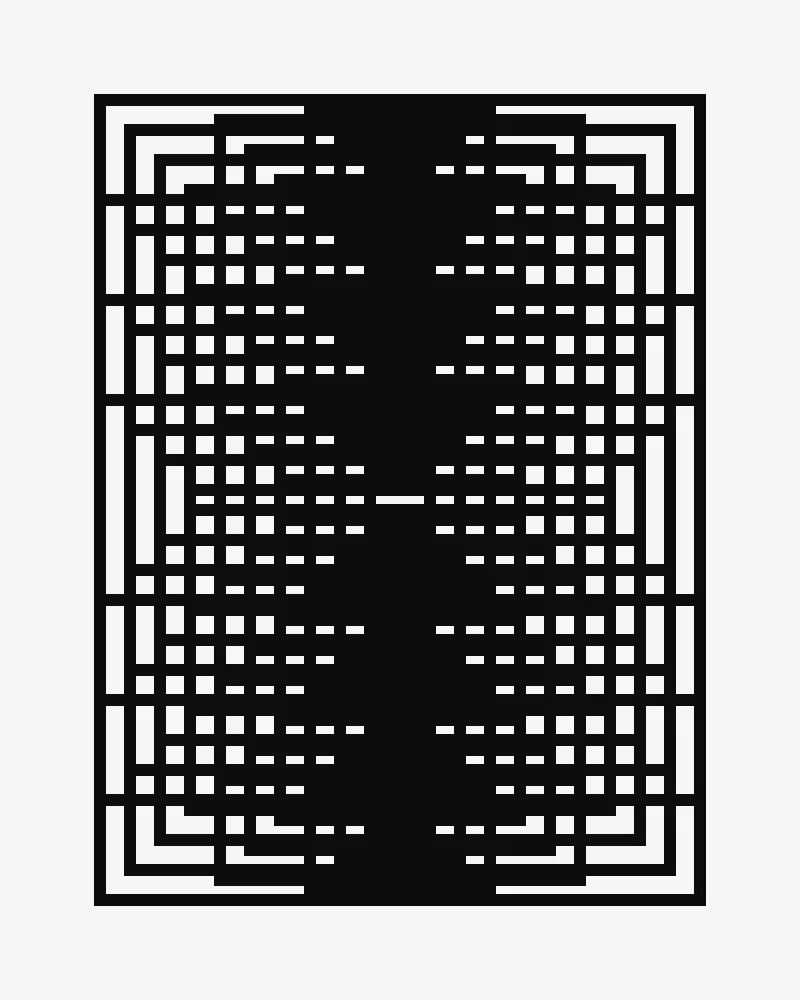
How would you go about recreating the following illustration with code?
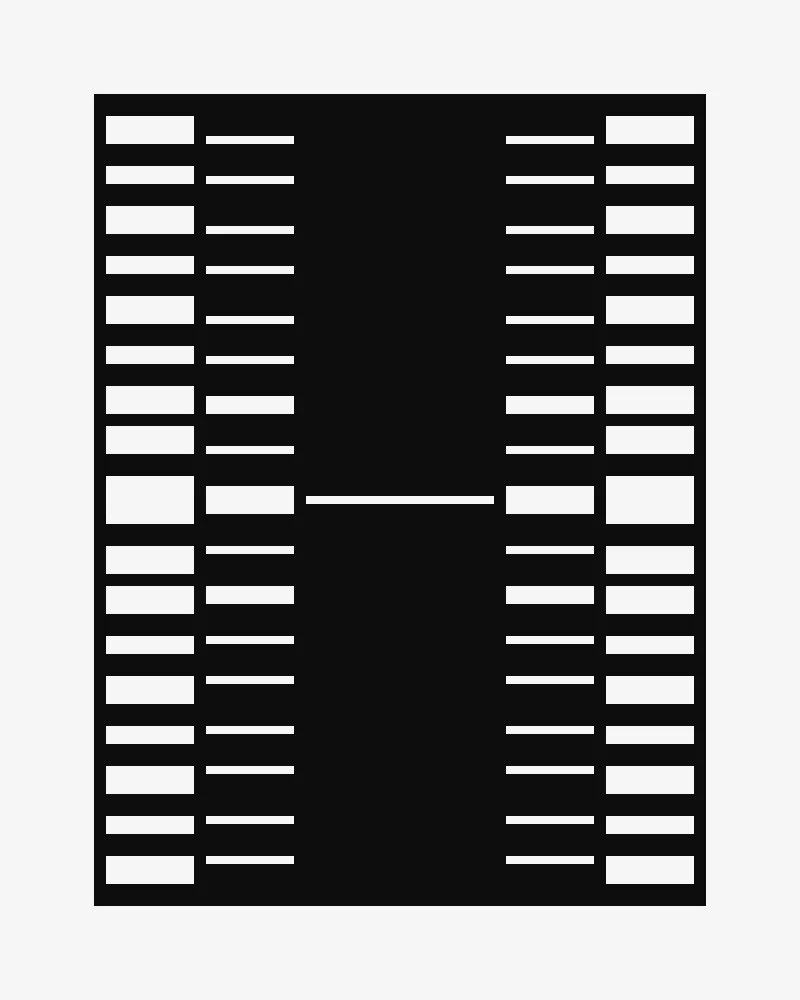
It looks more complicated.
There are a lot of small rectangles and shapes. My eyes try to find a pattern, but it is challenging to rationalize. We might need multiple For or While loops and If statements.
What do you think?
This is where I had a revelation. The two problems are equivalent! Drawing this image requires the same computation as the previous ones.
Let’s come back to our previous code. We use the stopping condition when x or y is bigger than the centre of the canvas. Instead of stopping the program, we could reverse the direction.
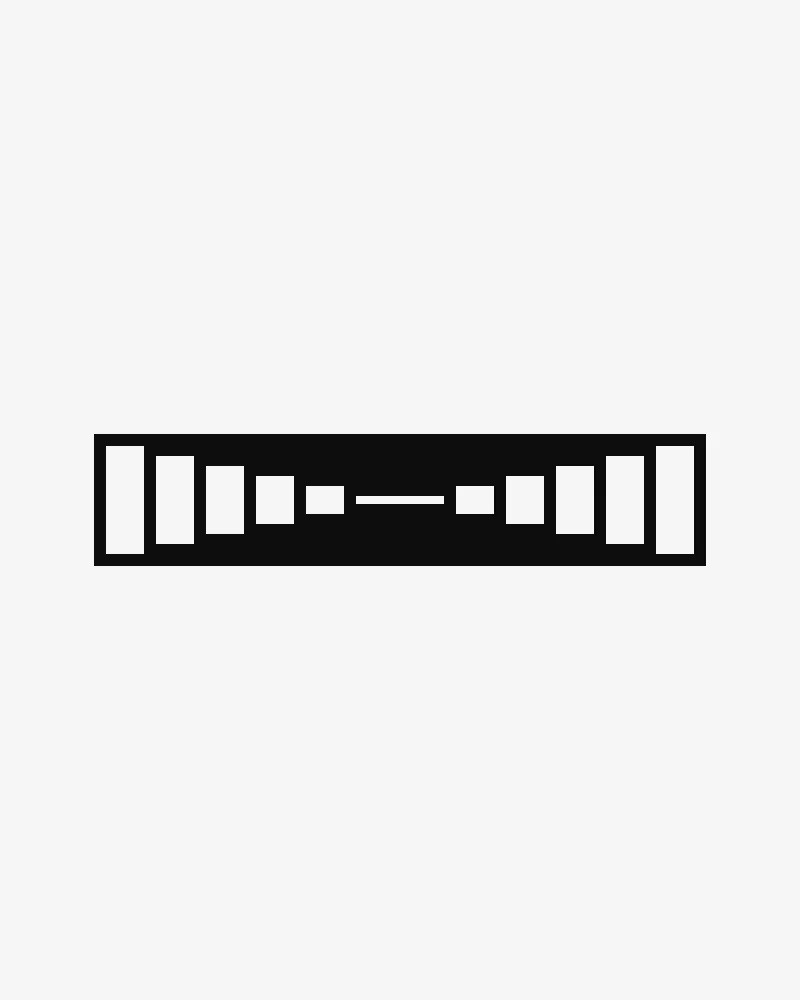
This small change opens up so many new possibilities. What happens if we now use extreme values? Look at those beautiful and intricate patterns. This blew my mind!
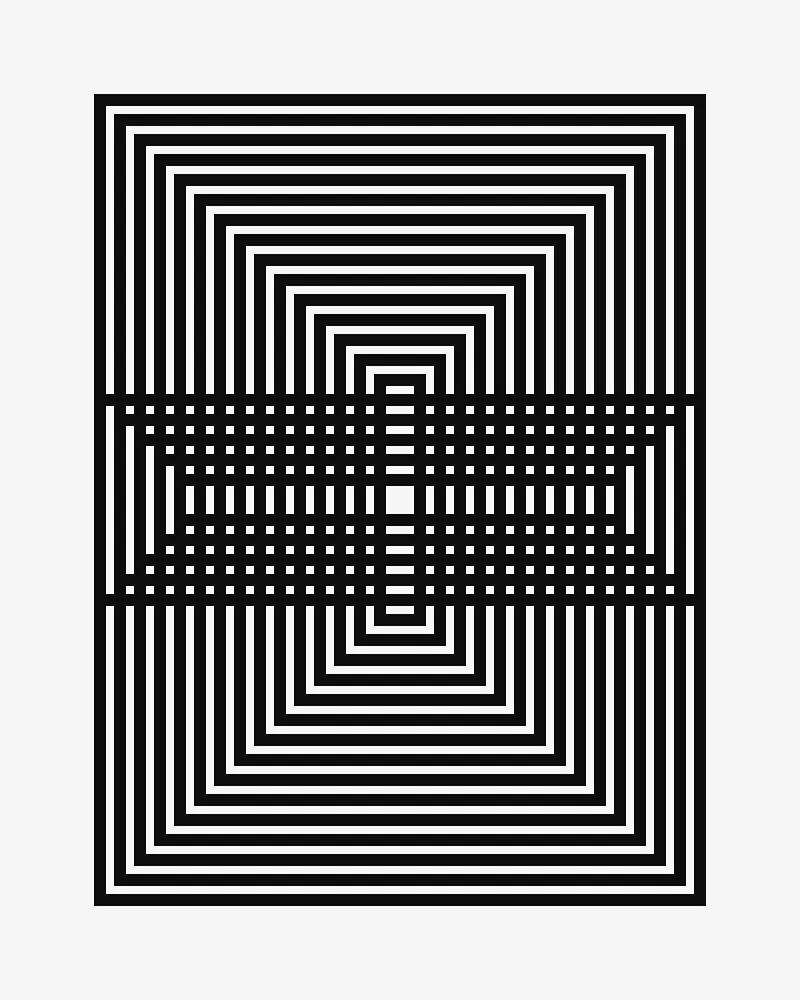
initialWidth = 20initialHeight = 20numberOfRectangle = 20
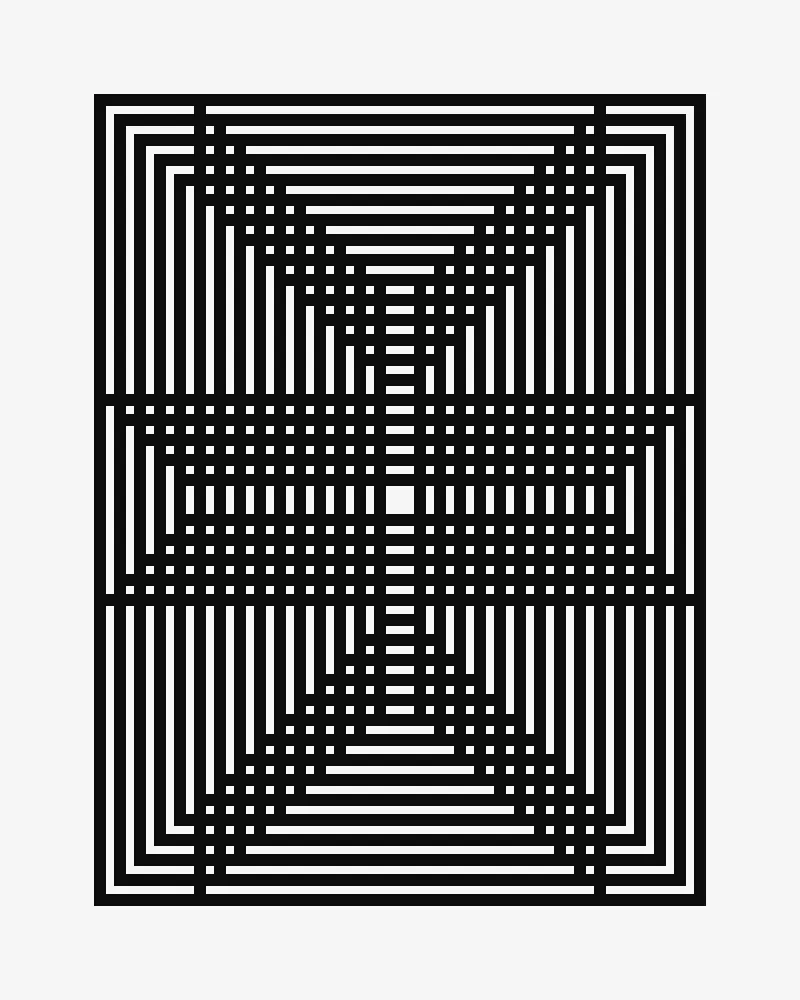
initialWidth = 20initialHeight = 20numberOfRectangle = 30
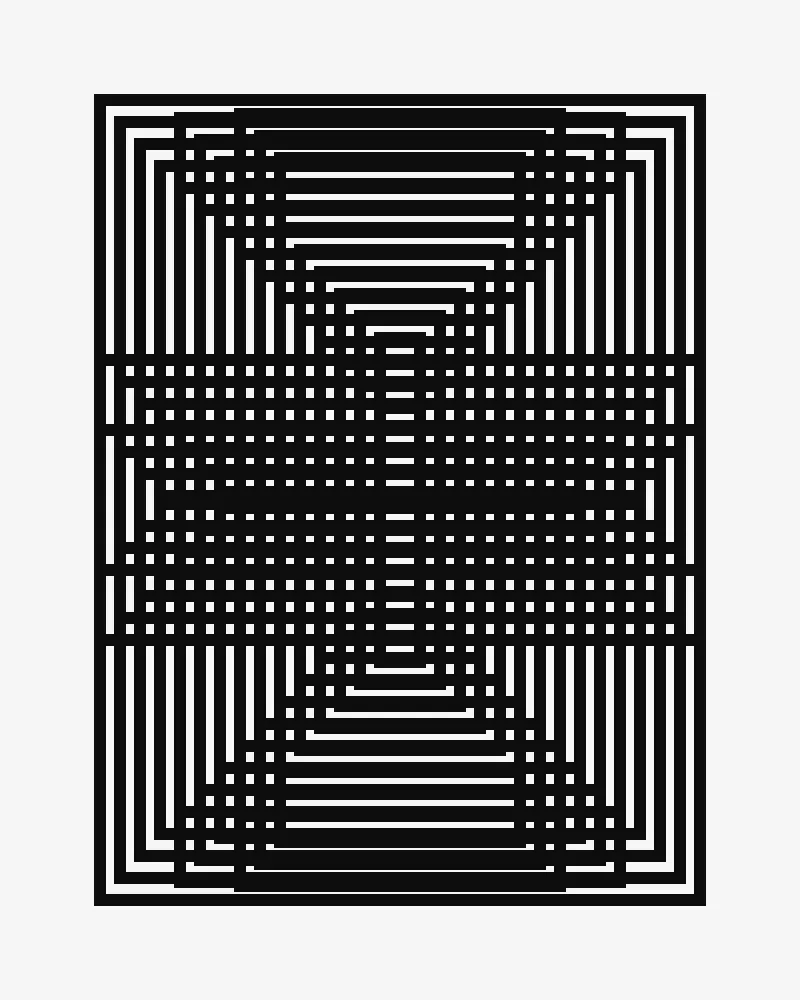
initialWidth = 20initialHeight = 22numberOfRectangle = 40
initialWidth = 30initialHeight = 30numberOfRectangle = 40
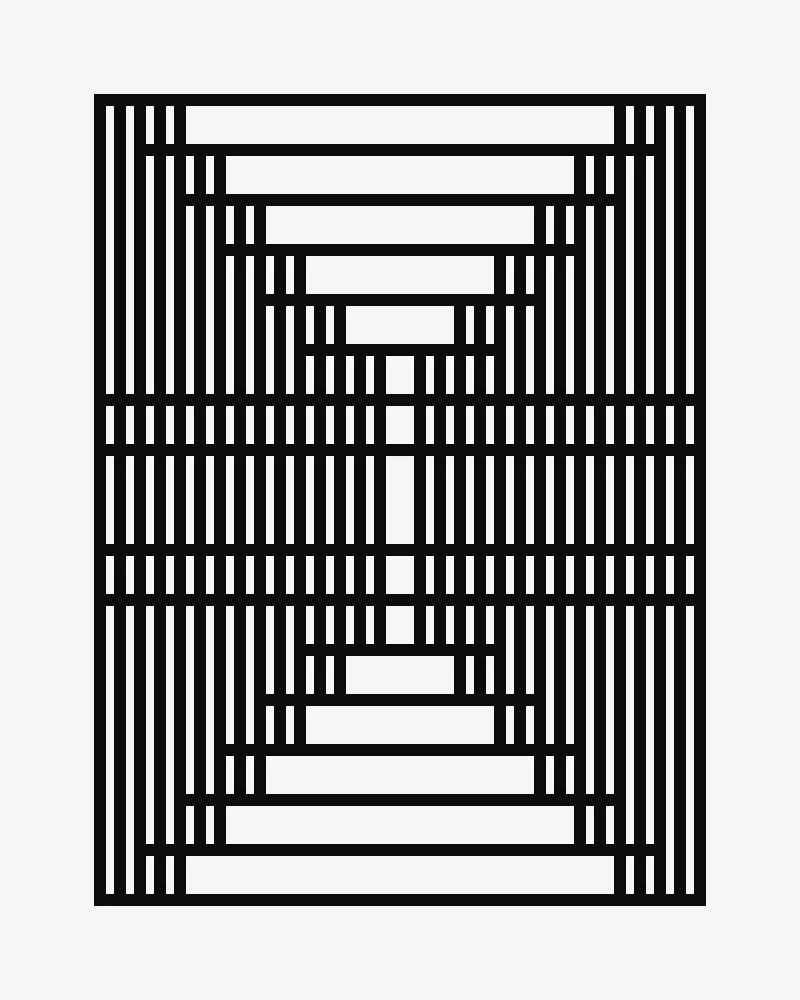
initialWidth = 40initialHeight = 50numberOfRectangle = 40
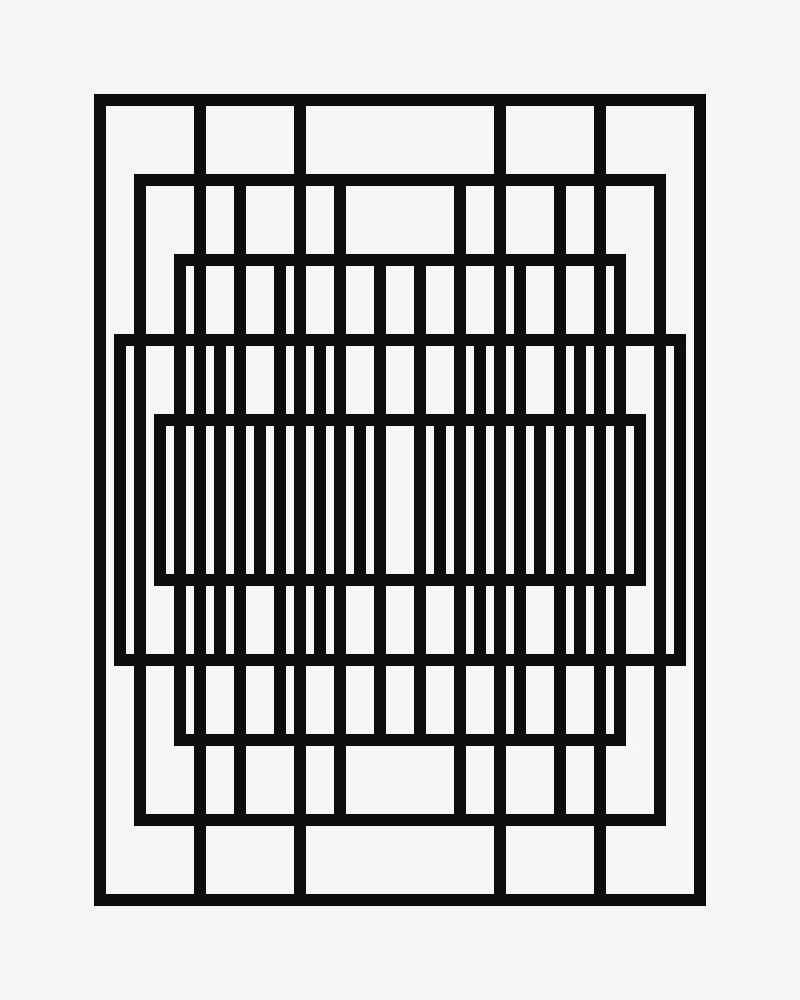
initialWidth = 40initialHeight = 80numberOfRectangle = 20
Conclusion
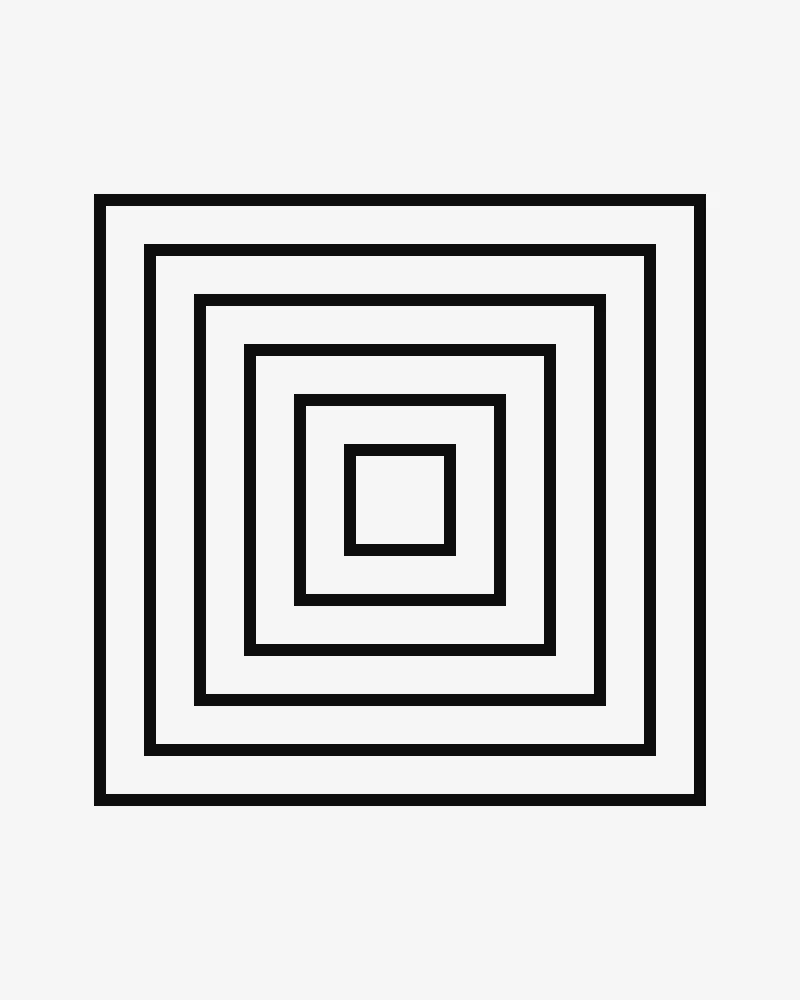
At first sight, which image did you think was the hardest to recreate with code?
My first thought was that the first image is far easier to conceptualise and explain. Draw a rectangle. Then draw a smaller rectangle inside the rectangle. Repeat. We grasp the iterative process almost automatically. This translates easily in code: a For or While loop or even recursion.
I thought the second image would have been hard to code and would involve many If statements. As it turned out, the second image can be produced with almost exactly the same code!
I asked myself: “Is that kind of image only produced by trial and error?”
I think it is.
Who knew that from a simple task, I would discover those intricate forms. This taught me a few things that will stick with me. What does this story teach us?
Always invert
The mathematician Carl Jacobi solved complicated problems by reframing them in reverse. Jacobi used to say: “man muss immer umkehren” (“invert, always invert”).
Synonymous approaches could be:
- Try going backwards or forwards.
- Try transposing the problem from one point of view to another.
- Consider the opposite of your thought.
If I didn’t invert the situation by drawing the rectangle from the outside towards the inside, I would not have found those new images. This alternative solution had a property that the other method doesn’t possess: negative values. The [Inversion Principle]({{< ref “Mental models for developers#inversion-principle” >}} “Inversion Principle”) is an excellent tool for exploring and discovering alternate possibilities.
Creativity is paying attention to the now
Sometimes when you follow your curiosity you will find something you were not looking for at the beginning of your task. The only way to get there is by playing.
To create remarkable things, steer your work towards what you consider interesting and fun. Consider your work and decisions as a big tree. Every decision and tweak can lead to unseen paths. You will never have the full picture.
Like the snowflake, a small change, repeated many times, creates something beautiful.
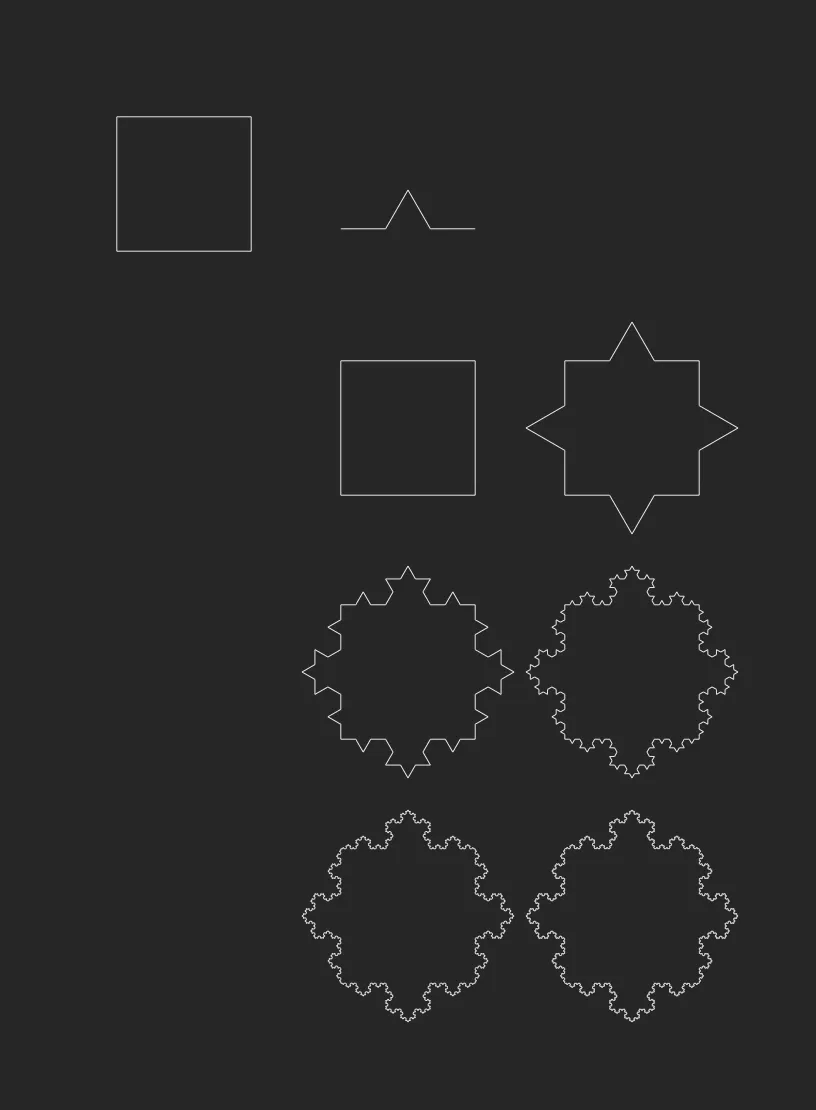
The Kock snowflake fractal curve. An intricate snowflake pattern is created with a simple set of rules.
Interesting things happen at boundaries
When programming, we often protect our code by using boundaries. We expect inputs to be a precise type and shape. What happens if we try the wrong kind of data or go out of the defined range? Explore and try to understand the bounds of the system. Surprises might appear.
- Try enormous inputs.
- Try tiny inputs.
- Try negative values.
- Make it an infinite loop.
- Remove borders.
If I hadn’t played with the parameters and picked absurd values, I would not have found these beautiful images. Happy accidents happen when trying something that would have been considered an error. Play is a powerful discovery tool.