How to create generative designs with a genetic algorithm
The human body has evolved and adapted to its environment thanks to natural selection. We evolved from crawling to walking over a long period. Organisms that adapt and survive to their environment pass down the best genes to their offspring, making them even fitter to their environment. Nature is a great inspiration. As developers and creatives, could we use natural selection to solve our problems?
Genetic algorithms (GA for short) are a category of algorithms that use natural selection and evolution as an inspiration to solve problems with constraints. They find a solution by learning which parameters work best and exploring the space of solutions.
How do they work? Let’s find out with a small project.
We are designing this avatar face, but we can’t figure out the best placement of the mouth, eyes, and nose. Should the eyebrows be low or high? Should the eyes be narrow? We want the computer to generate options and help us choose based on our feedback. Do you like the brief?
![]()
You can grasp how this is a problem with constraints. For example, the eyebrows need to be on top of the eyes and the mouth size is in a given range.
A bit of science
When we deconstruct the name “Genetic algorithm”, we get a few words:
- algorithm: a series of steps used to solve a problem
- genetic: related to genes
- gene: a unit of heredity; genes are sections of DNA that contain blueprints to produce specific proteins
- heredity: the characteristics (brown eyes, tall…) passed down from parents to children.

A GA uses genes to solve a problem. Over time it remembers what is best by evolving new generations and comparing them to each other.

Genotype and phenotype
The genotype is the genetic code of a living being. Think of it as all the information found inside the cells.
The phenotype is the expression of the genotype that is visible to us—for example, the colour of a rose or the shape of a bird wings. The phenotype is the set of observable characteristics.
Let’s put our programmer hat on. Genotype is data. Phenotype is expression. In our code, the genotype is a set of float numbers between 0 and 1. The phenotype is the visible result of these numbers. For example, the four numbers (0.111, 0.232, 0.333, 0.23) express a red circle of a particular radius.

The algorithm
Population
At first there is a population made of, let’s call them, citizens. Every citizen has a set of genes and score.
class Citizen {
  constructor() {
    this.score = 0;
    this.genes = []; // An array of genes
  }
}

class GA {
  constructor() {
    this.population = []; // An array to store all the created citizens
  }
}
A score? Yes, like in real life, where people compare themselves to each other. For example, who is wealthier or stronger. A score lets us find which citizen perform best in the environment and, as a result, is the best solution to our problem.
How do you calculate the score? It is up to us to create what is called a fitness function. Given a population citizen, the function returns a score (e.g. a number between 0 and 1). If we were to use a GA to evolve the flight pattern of a dart, we would calculate the fitness by judging the distance between the dart and the centre of the dartboard.
In a way, the purpose of a GA is to maximise or minimise the fitness function. The solution to your problem is the best (or worst) input to the fitness function.
Today, in our example, our fitness function will use our given votes. A solution with ten votes is superior to a solution with two votes. The goal of our GA is too maximise this score. Let’s come back and code the fitness function later.
Genes
Remember our mission? We have this avatar design, and we want the GA to help us find the perfect one!
What is the phenotype of our avatar? It has the following characteristics:
- The eyebrows can be low or high
- The eyebrow can be thin or thick
- The eyes are separated by a distance
- The eyes can be big or small
- The nose can be long or short
- The mouth is a circle with a given radius

![]()
For each of those characteristics, we can define the phenotype variables in JavaScript:
const phenotypeVariables = [
  'eyeRadius'
  'eyeDistance',
  'eyebrowDistance',
  'eyebrowHeight',
  'noseHeight',
  'mouthRadius',
]
Now that we know how many genes we need for our project we can update our code to include the phenotype variables. By default, we set the genes to be a random number between 0 and 1.
class Citizen {
  constructor(phenotypeVariables) {
    this.score = 0;
    this.genes = phenotypeVariables.map(() => Math.random());

    // The following code allows to easily access the genes by using their
    // variable name instead of an array index.
    phenotypeVariables.forEach((propertyName) => {
      Object.defineProperty(this, propertyName, {
        get: () => this.genes[phenotypeVariables.indexOf(propertyName)],
      });
    });
  }
}

class GA {
  constructor(phenotypeVariables) {
    this.phenotypeVariables = phenotypeVariables;
    this.population = [];
  }
}
Big bang
Who came first, the chicken or the egg? Genetic algorithms are about breeding solutions. How do you start breeding with an empty population? We create two random solutions to bootstrap our population. It’s the big bang! It’s the mystical initialisation of the universe. Think of them as Adam and Eve if that’s your thing.
class GA {
  constructor(phenotypeVariables) {
    this.phenotypeVariables = phenotypeVariables;
    this.population = [];
  }

  bigBang() {
    this.population.push(new Citizen(this.phenotypeVariables));
    this.population.push(new Citizen(this.phenotypeVariables));
  }
}
How do we make babies?
How do you make a baby? First, we need two parents and an algorithm for merging their genes. Let’s add a babyMaking function to our GA class. This method takes:
- Two parents
- A crossOverRate (a value between 0.0 and 1.0), the percentage of the genes taken from the first parent versus the second parent (e.g. if crossOverRate is 0.6, we will copy 60% more genes from the first parent)
- A mutationRate (a value between 0.0 and 1.0), the chance a given gene gets mutated
This function works in two steps:
- Mix the genes randomly from the parents
- Introduce mutations
Why do we use mutation? A mutation is like a nudge to evolve. If you don’t try new things, you will stay the same and never learn. Too much mutation is terrible. We want our GA to converge to the best solution. Too much mutation add noise and lead us astray.
You can think of it in terms of the local and global maximum. Mutation ensures that you don’t get stuck in a local maximum.


The steps are:
- Create a new citizen
- For every gene, we have to decide if we copy it from parent A or parent B. It could also be mutated and set to a random value.
- Calculate the score or fitness of the baby. Today we will calculate the score by using a weighted function with the crossOverRate. If the crossOverRate is 0.6, we will add up 60% of the score of parent A and 40% of the score of parent B. This is because we copied more genes from parent A!
class GA {
  constructor(phenotypeVariables) {
    this.phenotypeVariables = phenotypeVariables;
    this.population = [];
  }

  bigBang() {
    this.population.push(new Citizen(this.phenotypeVariables));
    this.population.push(new Citizen(this.phenotypeVariables));
  }

  babyMaking(parentA, parentB, crossOverRate = 0.5, mutationRate = 0.2) {
    // Create a baby
    const baby = new Citizen(this.phenotypeVariables);

    // For every gene
    for (const i in baby.genes) {
      // Crossover
      const crossoverFlip = Math.random();
      if (crossoverFlip < crossOverRate) {
        baby.genes[i] = parentA.genes[i]; // From parent A
      } else {
        baby.genes[i] = parentB.genes[i]; // From parent B
      }

      // Mutation
      const mutationFlip = Math.random();
      if (mutationFlip < mutationRate) {
        baby.genes[i] = Math.random(); // Mutate
      }
    }

    // Give the baby a weighted score
    baby.score =
      parentA.score * this.crossOverRate +
      parentB.score * (1 - this.crossOverRate);

    // Add to the population
    this.population.unshift(baby);
  }
}
Putting everything together
That’s all! We finished writing the evolution algorithm. Now we get to use our GA class.
const phenotypeVariables = [
  "bodyWidth",
  "bodyHeight",
  "eyeLeftX",
  "eyeRightX",
  "eyeY",
  "mouthX",
  "mouthY",
  "mouthWidth",
  "mouthHeight",
  "eyeRadius",
];

ga = new GA(phenotypeVariables);

// We initialise the population!
ga.bigBang();
Now it’s time to make some babies. How to choose parents? There are various strategies to select the parents. For example, the elite strategy is to choose the two parents with the highest score in the population. Another strategy could be to choose at random in the population or use a tournament-style selection.
Today we are going to use a simple selection algorithm. The user picks one parent, and the second parent is the citizen in the population with the highest score.
const phenotypeVariables = [
  "bodyWidth",
  "bodyHeight",
  "eyeLeftX",
  "eyeRightX",
  "eyeY",
  "mouthX",
  "mouthY",
  "mouthWidth",
  "mouthHeight",
  "eyeRadius",
];

ga = new GA(phenotypeVariables);

// We initialise the population!
ga.bigBang();

// Our selection and evolve method
const evolve = (parentA) => {
  const sorted = ga.population.slice();
  // Sort by score
  sorted.sort((a, b) => a.score < b.score);
  // Get the citizen with the highest score
  const parentB = sorted[0];
  ga.babyMaking(parentA, parentB, 0.8, 0.2);
};

// Create the first baby!
evolve(ga.population[0]);
Now onto drawing
I created an artboard for this article that displays the avatar and lets you vote by clicking on them.
This artboard takes three parameters:
- the GA object
- a drawing function to draw the artwork
- an evolve function called every time someone clicks on a citizen
Whenever we click on an avatar, its score gets incremented by one, and the evolving function is called.
const artboard = new Artboard(ga, draw, evolve);We will draw our avatar with SVG using the handy SVG.js library, which helps create SVG graphics with code.
Our draw function is called with an HTML element and the citizen to be drawn. First, we initialise a 600x600 pixel SVG canvas with whitish background. Additionally, I added a grid of lines in the background.
const draw = (contextEl, citizen) => {
  const size = 600;
  const canvas = SVG()
    .addTo(contextEl)
    .size(size, size)
    .viewbox(0, 0, size, size)
    .group();

  // Set the background colour
  canvas.rect(size, size).fill("rgb(231, 228, 211)").move(0, 0);

  // Draw a grid of lines
  for (let x = 0; x <= size; x += 100) {
    canvas
      .line(x, 0, x, size)
      .stroke({ width: 1, color: "black", opacity: 0.5 });
    canvas
      .line(0, x, size, x)
      .stroke({ width: 1, color: "black", opacity: 0.5 });
  }
};
Now we get to draw our avatar face. First, we extract the phenotype variables we defined earlier (e.g. the mouth radius or the nose height). But remember, they are numbers with values between 0 and 1. We need to translate that into values that we can use to draw things with pixels. For that, I use a handy function called remap (or lerp in Processing). Given a number between 0 and 1, it gives you back this number between, let say, -10 and 20. It interpolates the number within new bounds.
For example, the following code will transform the mouthRadius value between 10 and 200 pixels.
remap(citizen.mouthRadius, 0, 1, 10, 200);const draw = (contextEl, citizen) => {
const size = 600
const canvas = SVG().addTo(contextEl)
.size(size, size)
.viewbox(0, 0, size, size)
.group()
// Set the background colour
canvas.rect(size, size)
.fill('rgb(231, 228, 211)')
.move(0, 0)
// Draw a grid of lines
for (let x = 0; x <= size; x += 100) {
canvas.line(x, 0, x, size)
.stroke({ width: 1, color: 'black', opacity: 0.5 })
canvas.line(0, x, size, x)
.stroke({ width: 1, color: 'black', opacity: 0.5 })
}
// Extract and interpolate phenotype variables
const [
eyeRadius,
eyeDistance,
eyebrowDistance,
eyebrowHeight,
noseHeight,
mouthRadius
] = [
remap(citizen.eyeRadius, 0, 1, 10, 50),
remap(citizen.eyeDistance, 0, 1, 100, 600),
remap(citizen.eyebrowDistance, 0, 1, 0, 100),
remap(citizen.eyebrowHeight, 0, 1, 10, 40),
remap(citizen.noseHeight, 0, 1, 100, 400),
remap(citizen.mouthRadius, 0, 1, 10, 200)
]With the variables translated into pixels values we can start drawing things.
Starting with the eyes:
// Draw the left eye
canvas
  .ellipse(2 * eyeRadius, 2 * eyeRadius)
  .fill(blue)
  .move(eyeLeft, 100);

// Draw the right eye
canvas
  .ellipse(2 * eyeRadius, 2 * eyeRadius)
  .fill(blue)
  .move(eyeRight, 100);
Then the eyebrows:
// Draw the left eyebrow
canvas
  .line([
    [eyeLeft, eyebrowDistance],
    [eyeLeft + 2 * eyeRadius, eyebrowDistance],
  ])
  .fill("none")
  .stroke({ width: eyebrowHeight, color: blue });

// Draw the right eyebrow
canvas
  .line([
    [eyeRight, eyebrowDistance],
    [eyeRight + 2 * eyeRadius, eyebrowDistance],
  ])
  .fill("none")
  .stroke({ width: eyebrowHeight, color: blue });
Then the mouth:
// Draw the mouth
canvas
  .ellipse(2 * mouthRadius, 2 * mouthRadius)
  .fill(red)
  .move(canvasMiddle - mouthRadius, 500 - mouthRadius)
  .css({ "mix-blend-mode": "multiply" });
And finally the nose:
  // Draw the nose
  canvas.polyline([
    // start at the corner of the left eye
    [canvasMiddle + eyeRadius - eyeDistance / 2, 100],
    // go to the left corner of the mouth
    [canvasMiddle - eyeDistance / 2, 100 + noseHeight],
    // end on the right corner of the mouth
    [canvasMiddle - eyeRadius + eyeDistance / 2, 100 + noseHeight]
  ]).fill('none').stroke({ width: 12, color: blue })
}
We have now completed our project. We have the genetic algorithm; we defined our genetic data and translated it into our phenotype, which is drawn on the screen.
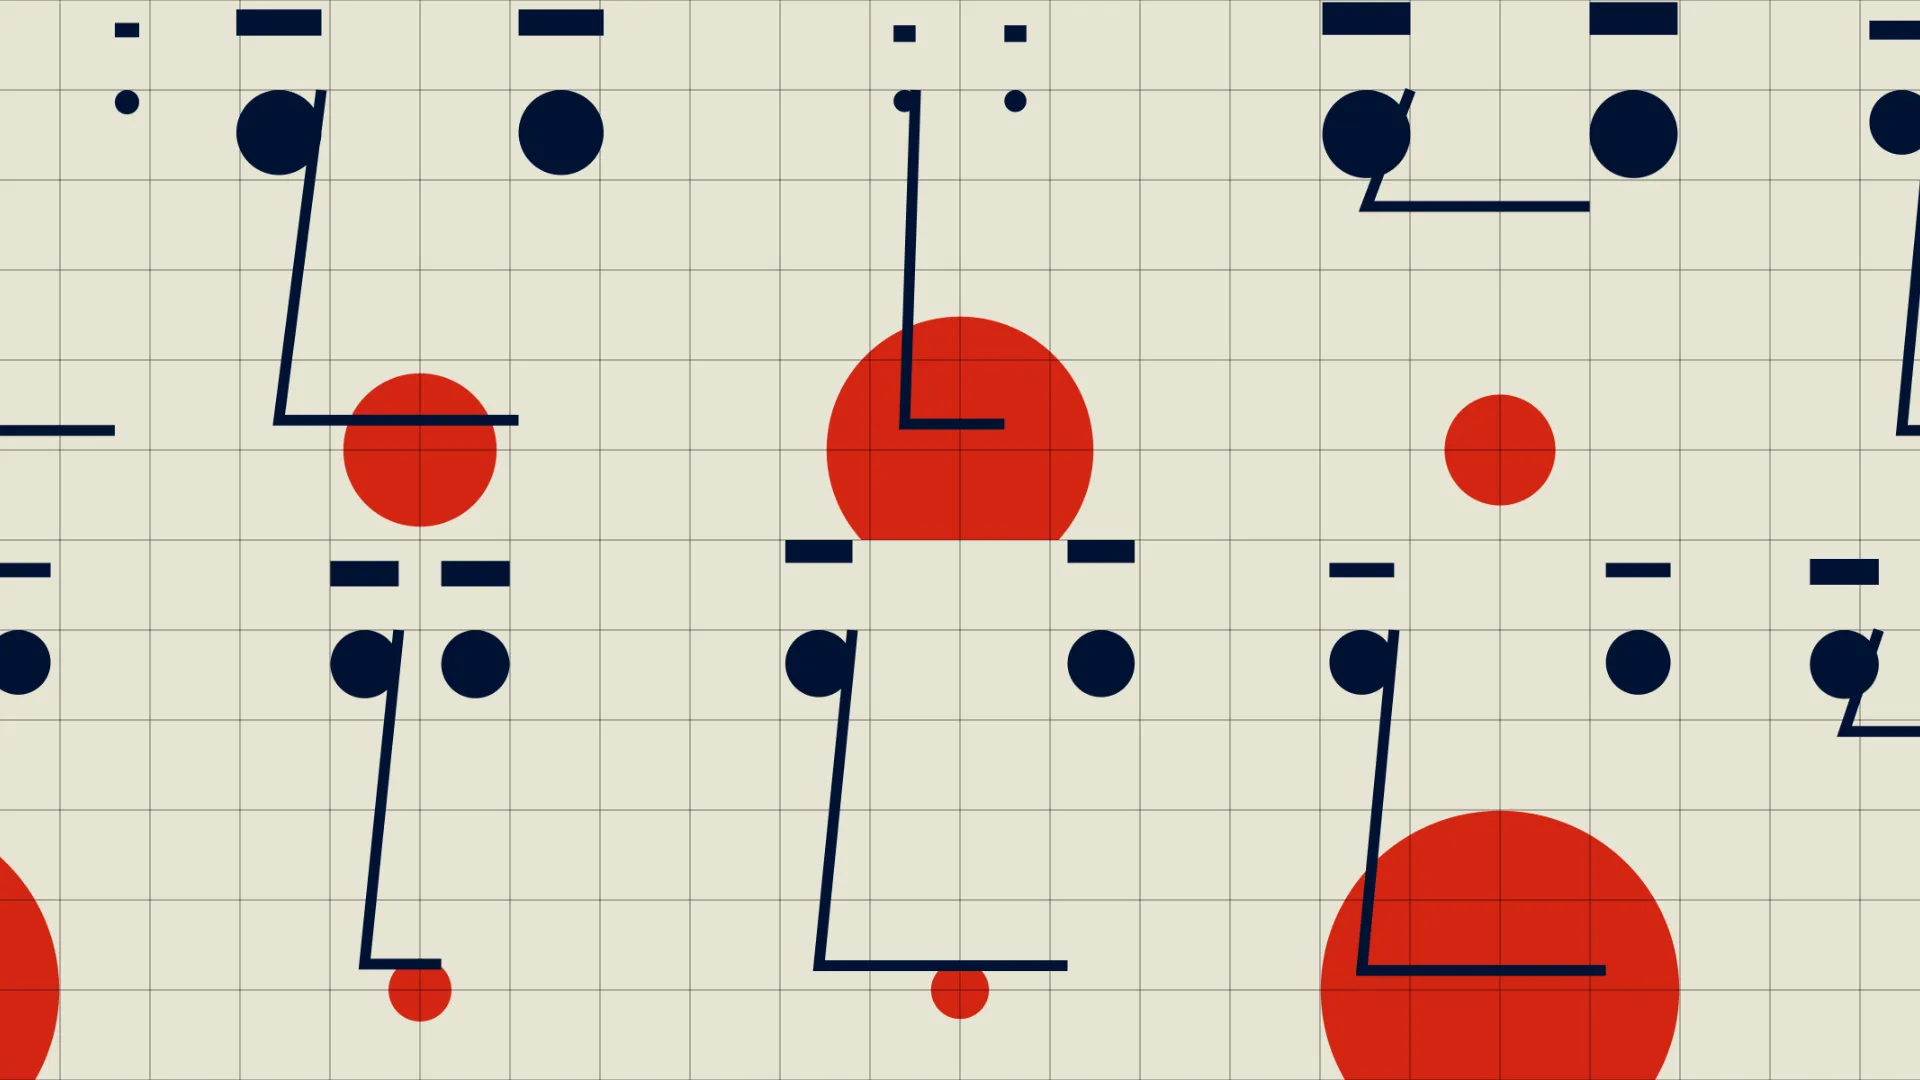
Using the playground below, try to vote (by clicking) on your favourite designs. You will see that the new versions will keep all or some of the features. Your choices drive what is good or bad. Watch out for mutations that will surprise you here and there with something unusual.
Make your own
The final code of our project is available at GitHub. By changing how you draw features and introducing more variables, we can create even more things. Maybe try making a generative monster or a generative flower! Let me know if you created any fun projects with the code!
What else could we create?
- An artwork that optimises itself by maximising the numbers or smiles caught on a webcam.
- A design that stacks multiple objects into a balanced tower. The GA will optimise for maximum height and stability.
Conclusion
We implemented a basic genetic algorithm solver and learnt how to use it creatively. I’m always amazed that we can create a system capable of learning things with a few lines of code. Genetic algorithms work best when you have many options to explore and need to find creative solutions to a problem. This technique explores the boundaries set by humans and tries to find the best performing set of parameters. Using the natural world for ideas and inspiration is one of the most important tools in an engineering toolbox.
Goody bag
- The code for this project.
- Sunny Day, 4PM; a generative art Twitter bot making ice cream illustrations. When someone favourites an ice cream on Twitter the bot learns from it to create the next illustration.
- A GA creating random two-wheeled vehicle.
- Evolved antenna.